Photogrammetry step 1 - something simple

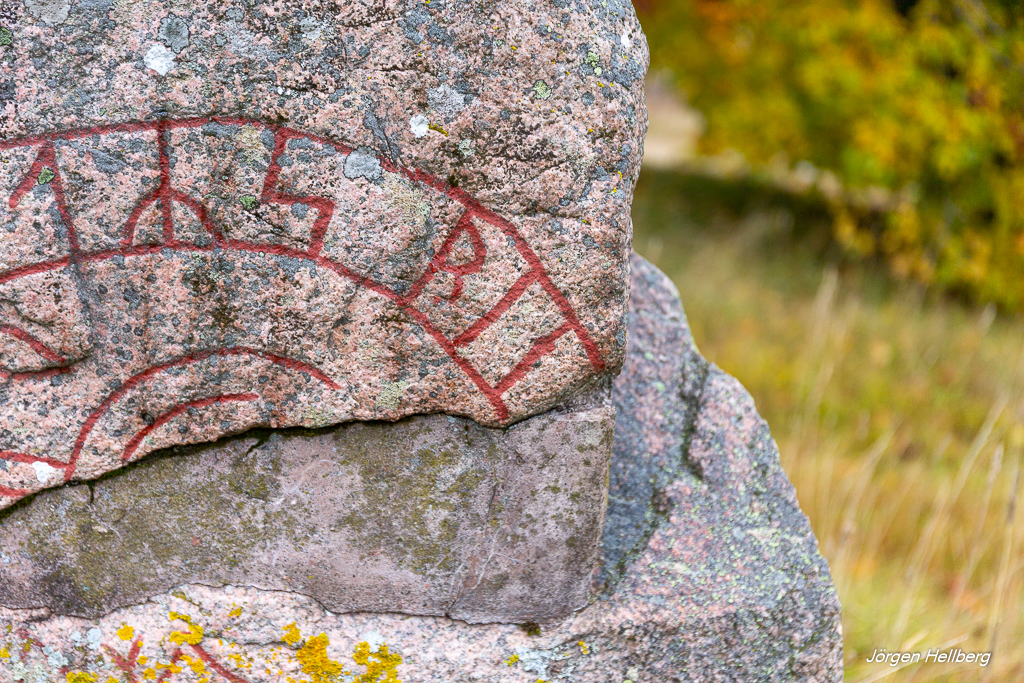
A non-reflective, even lighted flat subject is a good subject for the first step. For this tutorial I have chosen a runic stone from the 11th century.
This stone, as lot of them, witness of a great personal loss. Some of the inscription is missing. But the interpretation is “Jofrid had the stone cut after Spjälle (?), her husband”
This is 6 of 26 pictures that use for this tutorial. As you can see al photos have the same orientation, and as this was on a cloudy day there is almost no shadows. The gear I uses was a Canon 6D and the Canon EF 24-70mm F/4L IS USM. I made sure that I had a constant zoom range, to avoid problems with focus breathing I also tried to stay at a similar distance for every picture. To have a correct capture move the camera and scan the entire area, make sure you come home with sharp pictures where every point on the subject is visible on 3 or more pictures. As can bee seen in hte last picture there was some grass in front of the stone, therefore I tried to find some photo angles where the stone was not hidden behind the grass.


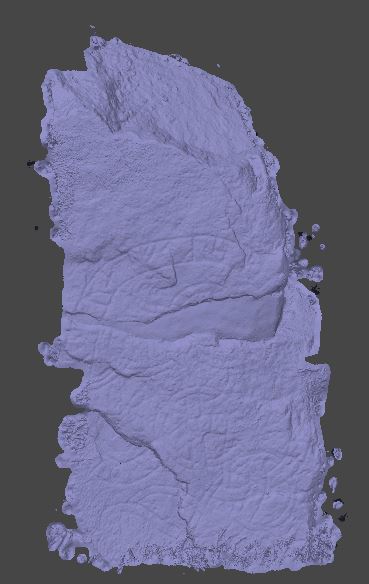
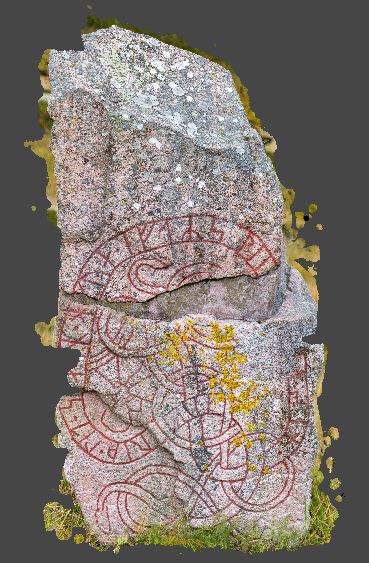
I did some adjustments in Adobe Lightroom before I uploaded the files to the photogrammetry program Agisoft Metashape. For this tutorial I only used the standard settings. It will take a while to process the pictures, in this case my computer used 15 to 20 minutes to get the result below. Left is the solid mesh. To the right is the textured mesh.
Here is a silent video that show the workprocess in Metashape.
This is an example of a 3D runic stone made with photogrammetry.
Runic stone by Jörgen Hellberg on Sketchfab