Photogrammetry step 4 – Preparing a model for upload
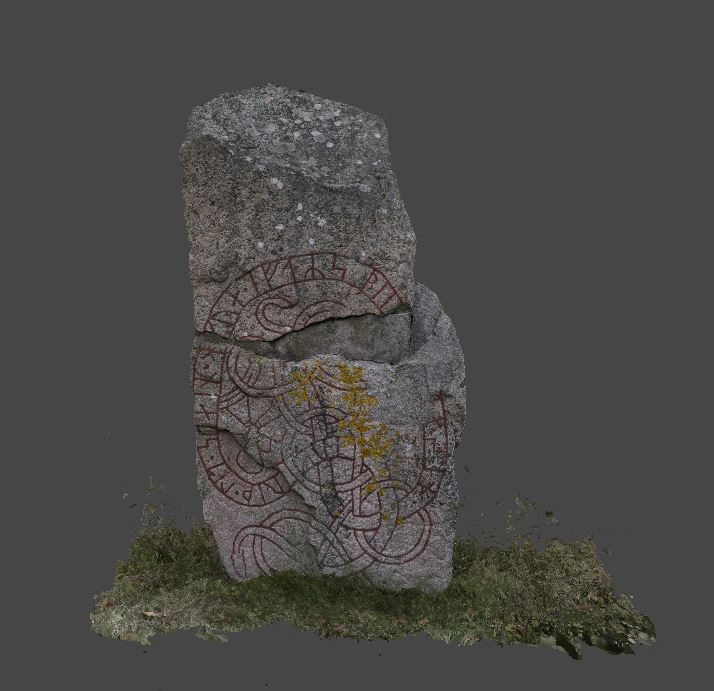
In the previous tutorial Photogrammetry step 3 – masking from model we made a 3D-model of a runic stone. In this step I will show how some basic things that can be done before uploading your model.
Selecting and deleting free floating debris
In the first video I make a copy of the model because the steps we do in this tutorial cannot be reversed so it is nice to be able to go back if somethings do not turn out ok. I choose to name the copy “For upload”. As you can see there is some free-floating pieces of grass near the ground. To remove that and other debris from the model got to Model / Gradual selection. Then choose criterion “Connected component size”. The slider goes from 0% to 100%. Going to 100% means selecting everything, 99% is everything but the largest and so on. In the video I chose 99%. For some models you want to keep some components. In this case I just want to have the main model of the runic stone, so I choose 99%. After selection go to Edit / Delete Selection.
Selecting and smoothing artefacts on the surface of the model
You can do some mesh editing in Metashape, smoothing is one method that can be uses on the entire model or on a selection of the model. Remember to save a copy of the model before you smooth the mesh. In the second video I show how you can select and smooth some selected artefacts. If you use the selection tool you will select everything that is “under” the selection. This means that if you select an area one side of the model you will also have select an area on the opposite side of the model. In the video I show how to handle this using Tools / Mesh / Filter by Selection. After adjusting the selection, I use Tools / Mesh / Smooth Mesh. I set the strength to 100 and check the Apply to selected faces.
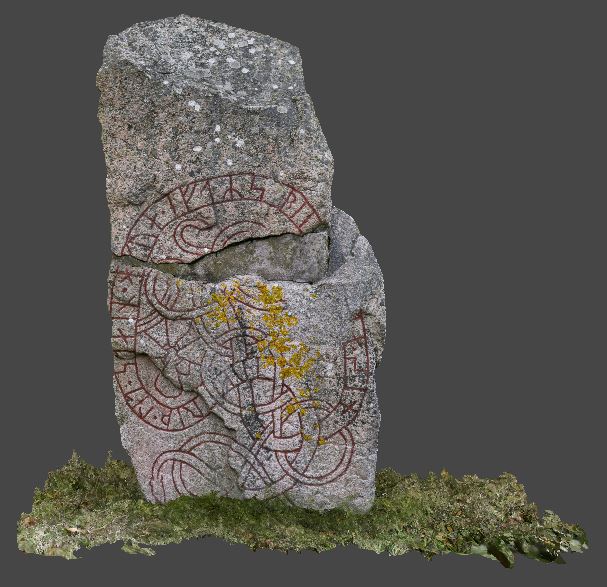
Decimating the model
The model is quite big so before uploading you probably need to decimate the model to make it smaller. Select Tools / Mesh / Decimate Mesh. This step is quite quick so you can test with different settings to see what is best for your model. I choose to use the standard setting of 200 000 polygons. After that I textured the model.
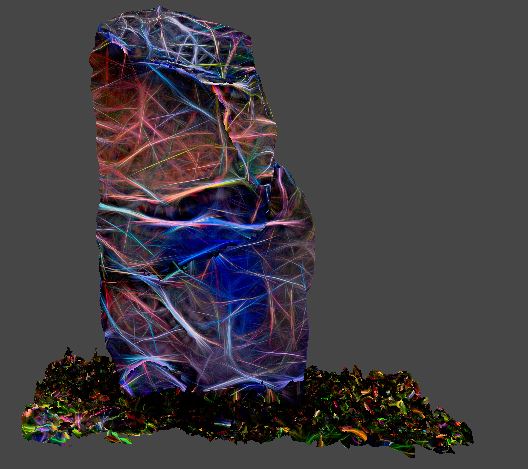
Adjusting the texture / UV map

The texture / UV map is the picture that you attach to the mesh. This is a normal jpg file and you can save it and adjust it. I usually check the colours and sharpening but you can of course do a lot more. After this the model is ready to upload or export.
Metashape should allow you to upload directly to Sketchfab but if that does not work you can export the model for example as an OBJ and then upload it from Sketchfab.