Photogrammetry step 5 – using stacked pictures

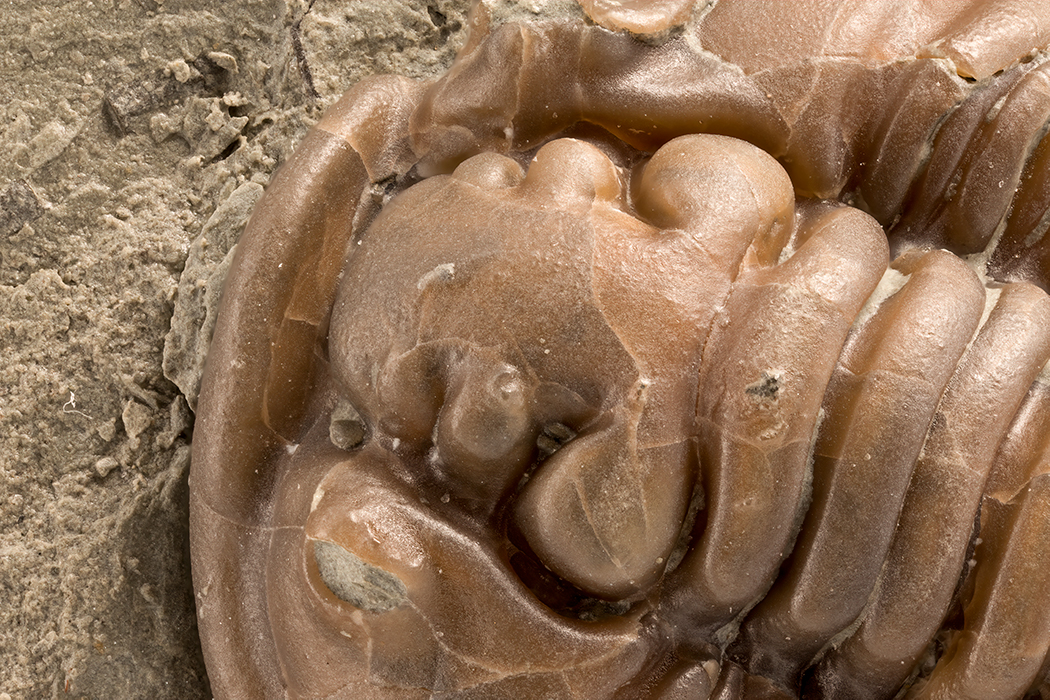
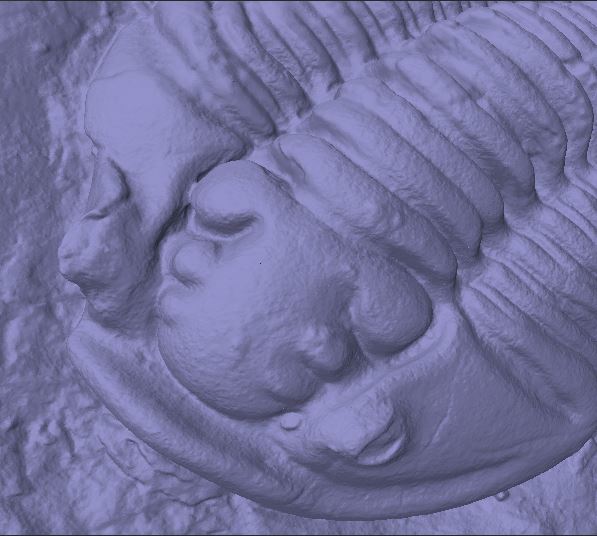
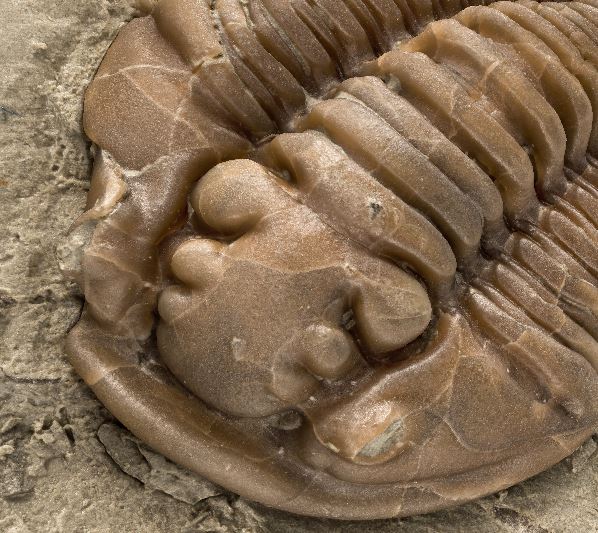
Photogrammetry makes it possible to store, view and share information about a subject in 3D. But the technique has some limitations. One is that you need sharp photos of the subject you want to make a 3D model of. In macro photography the shallow depth of field can therefore be a problem. One time consuming but rewarding method to handle a shallow depth of field is combining focus stacking and photogrammetry. Here I am going through the steps to do this. The goal is a 3D model of a trilobite (Flexicalymene retrorsa), Ordovicium 440-490 m. years Arnheim formation Mt. Orab, Ohio, USA. The trilobite is approximately 37mm long.
Photographing
The subject for this tutorial is a Trilobite. A fossil of this kind has some features that makes it a good starting point for macro photogrammetry. It is not reflective, not transparent and, not moving. The surface is almost without sharp edges and there are almost no hidden areas. In a studio environment it is also possible to go back and ad a new camera position if necessary.
For this tutorial I used a Canon 6D camera with a Canon MP-E 65 objective set at 2X. I used the same focus, ISO, f-value and, exposure time for all photos. The camera was fixed on a Cognisys Stack shot macro rail. Instead of moving the camera I turned the subject from camera position to camera position. To avoid shadows, I used diffused light.
Stacking
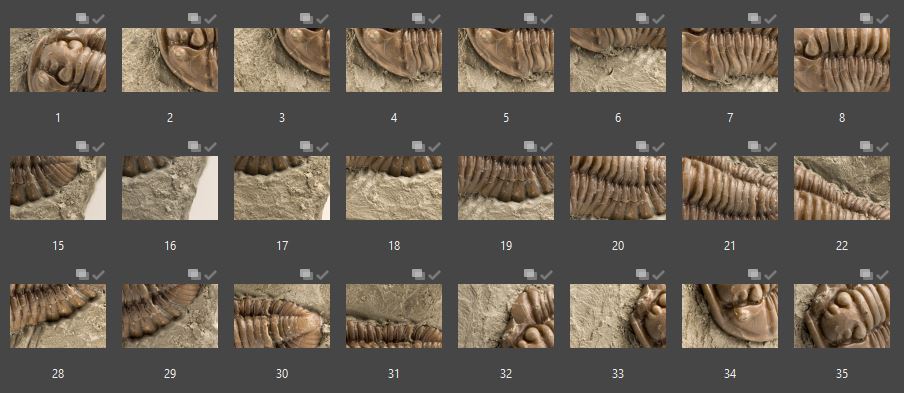
To make a 3D model using stacking means a lot of photos, therefore it is a good idea to find a time sawing workflow. For this tutorial I used 46 camera positions and more than 3 000 photos. It is a good idea to plan the camera positions and to work step by step – take a few series of photos, stack them and, check that they align well in the 3D program.
The amount of work that goes into stacking all photos to acquire the different camera positions means that the choice of stacking software becomes a question of what program fits your workflow best.
I tested stacked pictures from Zerene Stacker and from Helicon Focus. I could not see any obvious differences in result when I made the model in Agisoft Metashape. The stacked pictures that did not work was the same regardless of my choice of stacking software.
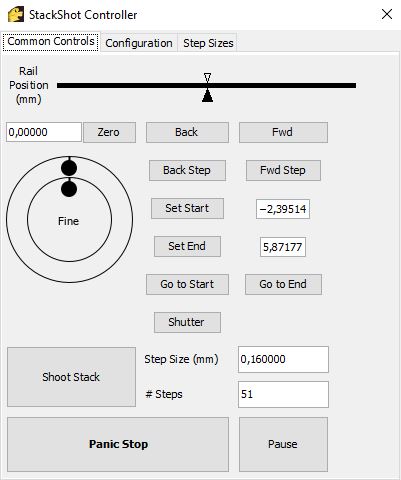
Zerene Stacker have a built-in function to control a StackShot rail. You can control more types of rails with Helicon Focus, but the rail control is not (in February 2020) as developed as Zerene Stackers. Therefore, I prefer to use Zerene Stacker to control the rail. In Zerene Stackers Common control tab I first set step size and then control the rail to find the start and end points. I do this with the Back and Fwd buttons or with the two wheels. The starting and end points is set using Canon EOS Utility live view on my computer screen. The first and the last step is usually out of focus. The number of steps is the result of the chosen step size and the start and end points. Below are the settings I used for the first camera position. With 2X enlargement and f/5.6 the step size is set to 0.16mm.
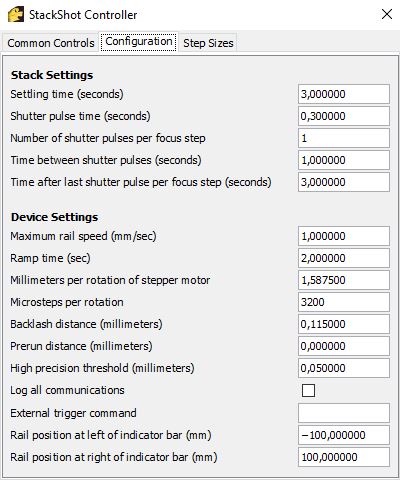
The StackShot controller also have a configuration tab. Above is the settings I usually use. Sometimes my rail starts to move slowly – to fix this I must go in and rewrite the “Maximum rail speed (mm/sec)”. The field “Time after last shutter pulse per focus step (seconds)” must be changed for longer exposure times.
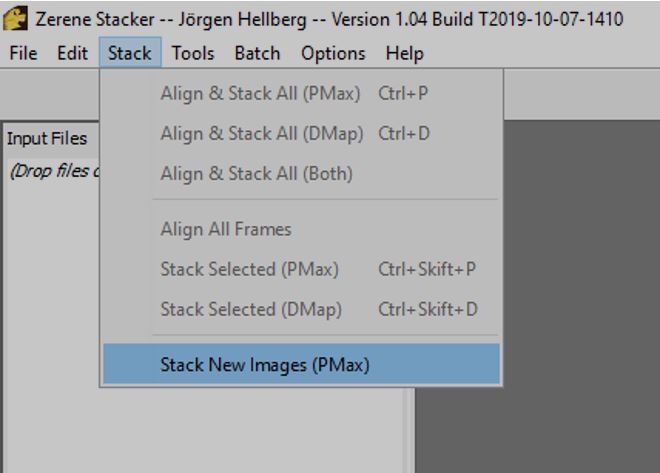
Before I press the Shoot Stack button I sett the Stack option to “Stack New Images (PMax)” this makes it possible to view the stacking (jpg files only) in progress and usually the final picture is good enough for my purpose. So, when the photographing is finished stacking is also done.
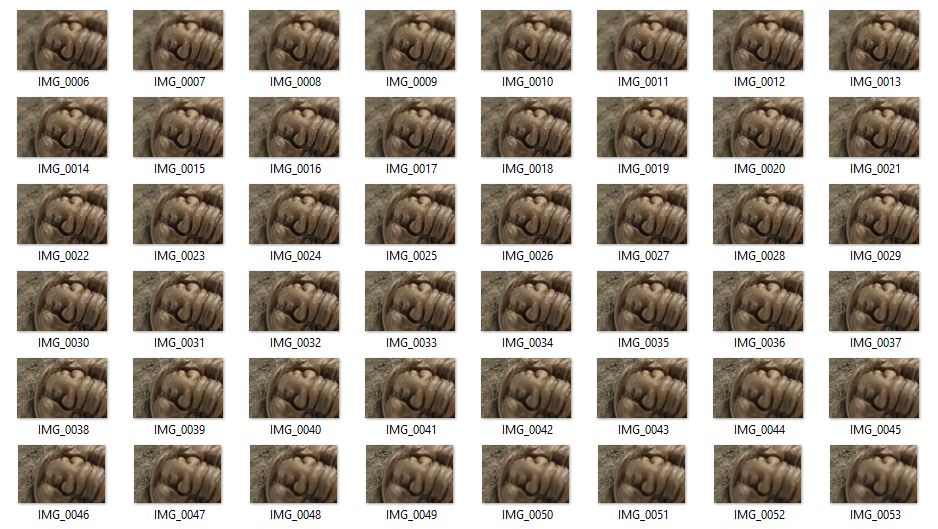
Here are the resulting photos for the first camera position.
If you already have the photos and want to make the stacking afterwards it is faster to use Helicon Focus. Below is a video shoving the stacking of the RAW files for the first camera position with Helicon Focus. I also show the 3D model Helicon Focus can do using the depth map.
Save the stacked pictures separately but in the same library makes it easier to do batch post processing and makes it easy to add the photos in Agisoft Metashape. For this tutorial I did some sharpening and de noising with Topaz DeNoise AI. Here is the final picture for the first camera position.
Building the 3D model in Agisoft Metashape
Here are the final pictures loaded into Agisoft Metashape.
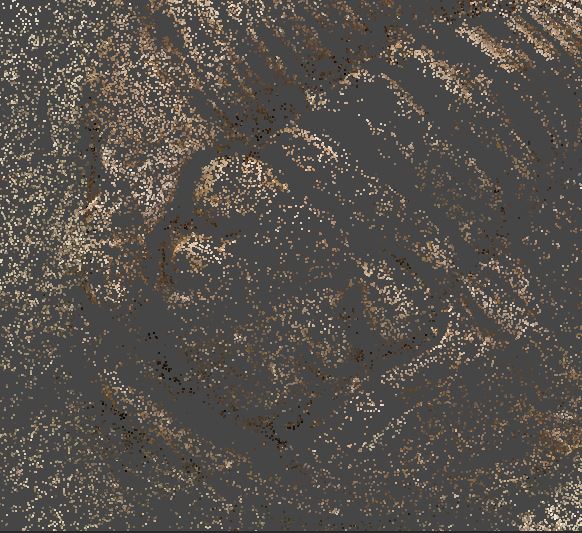
Following the workflow in Agisoft Metashape the first step is “Align Photos…” – this creates a point cloud.
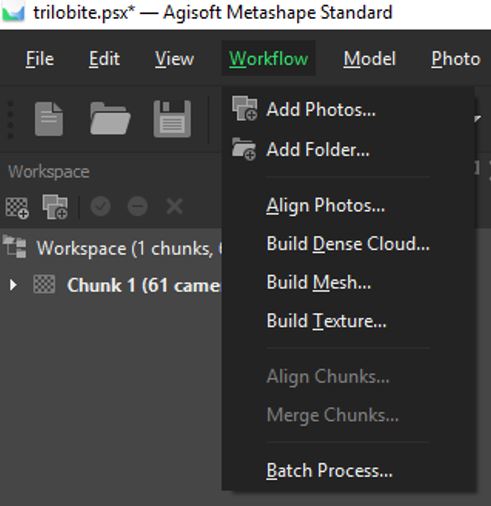
After that I went directly to “Build Mesh” from depth maps. When the Mesh was ready, I finalized the process with “Build Texture…”
The entire process with my computer took approximately 11 minutes. Here is a 1-minute silent video shoving the steps in Agisoft Metashape.
The final model is quite large so before saving uploading the model to Sketchfab I smoothed and decimated the mesh. After that I had to redo the “Build Texture…” step. Here is the final model uploaded to Sketchfab.