Photogrammetry step 3 – masking from model

For this tutorial I used Agisoft Metashape standard, Canon EOS 6D camera with Canon EF 24-70mm F/4L IS USM objective. The subject is the same runic stone as in Photogrammetry step 1 – something simple and in Photogrammetry step 2 – A 3D model. step 2. This time I will talk about masking from model.
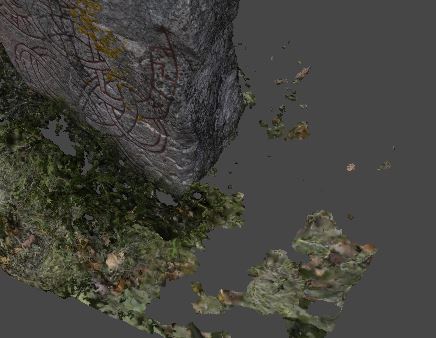
The result using the standard Workflow in Metashape can be seen in the left picture bellow. There is a problem with some unwanted artefacts. This can be handled with masking or manual deleting. Agisofts Metashape also have a feature that uses depth maps. With this method most or all artefacts are automatically deleted, and the models comes out clean. It was this method that was used in Photogrammetry step 2 – A 3D model. But non perfect areas such as grass with a lot of hidden areas and movement from photo to photo can also be deleted. As can be seen in the right picture there is some holes in the grass/ground part of mesh in the model made with the depth maps.
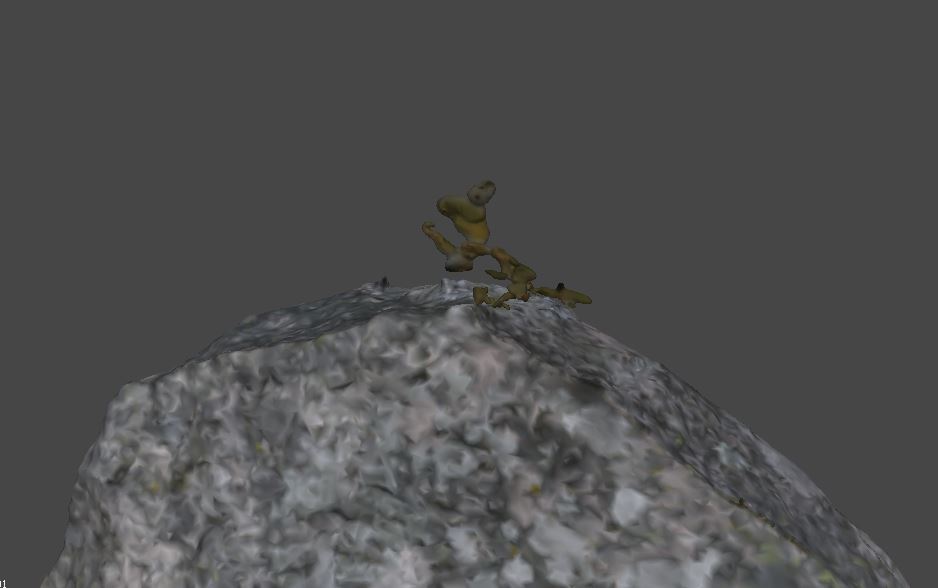
Here is a silent video that shows the steps, creating a mesh from a dense cloud and selecting and deleting most but not all the remaining artefacts, this can in many circumstances be good enough.
Here is a silent video that shows the steps, creating a mesh from depth maps. This method gives clean models but can as in this case delete to much of (imperfect) areas.
To generate a clean model with no holes in the ground you can mask the photos and then generate first the dense cloud then the mesh. I used the clean dept map model to mask several hundred pictures in a few minutes. The steps to do this is shown in the video below.
If I use mask from the model directly I will generate a model that have the same holes in the ground as the depth map model. Therefore, I must delete the parts of the masks that hides the ground round the runic stone. It is possible to unmask to much or too little so this is a process that might have to be redone if the result is not ok. The de-masking steps for a few pictures are shown in the video below.
When the masking is done it is time to return to the workflow and build the dense cloud. The masked areas of the photos will automatically not be part of the process. The video below shows this step in the workflow.
The final step in the worklflow is to generate the mesh and the texture. The video below shows this step in the workflow.
Note
The steps described here is not so work intensive but can consume several hours of computer time.
The result
After some post processing the model is ready for upload to Sketchfab. How to do this is the topic for the next post. Here is the result: