Photogrammetry step 2 – a 3D model
For this tutorial I used Agisoft Metashape standard, Canon EOS 6D camera with Canon EF 24-70mm F/4L IS USM objective. The subject is the same runic stone as in Photogrammetry step 1 where I demonstrated how to make a flat surface.
If you want to do this try to find a subject that is evenly lit, that does not have any hidden areas that you can not photograph.
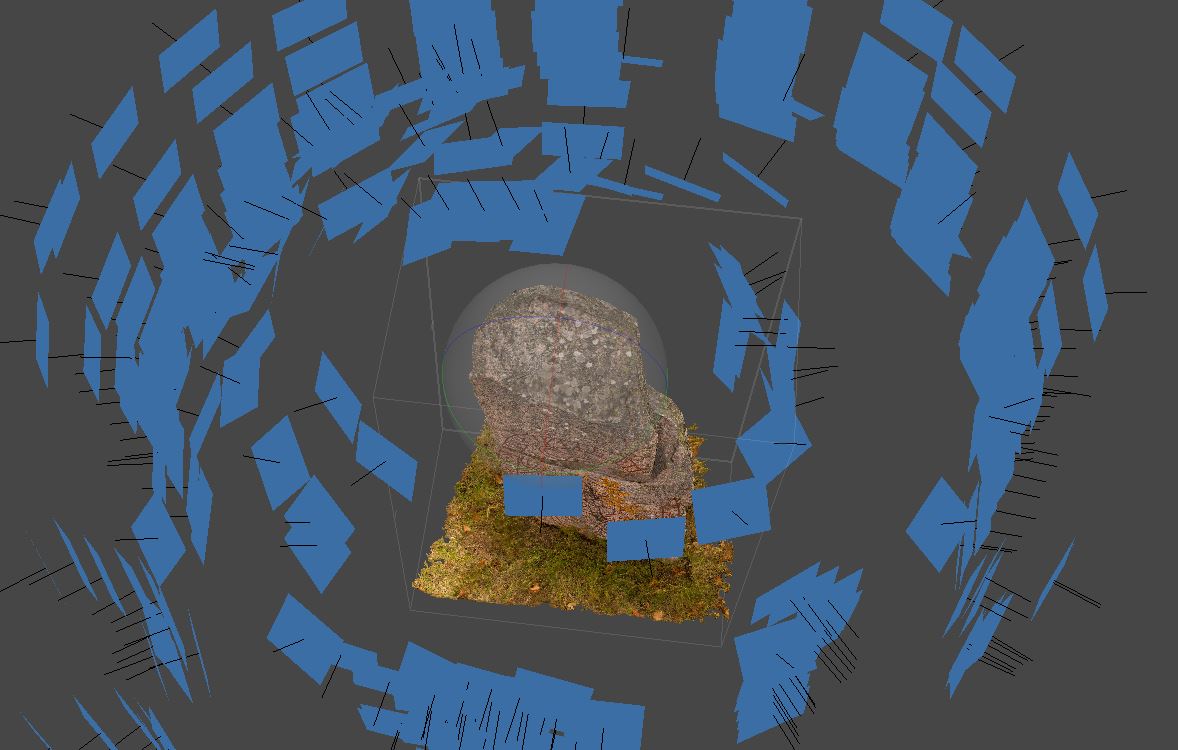
For the 3D model I photographed 286 pictures al around the subject. The blue squares show each camera position, note that I took some pictures straight down on the top.
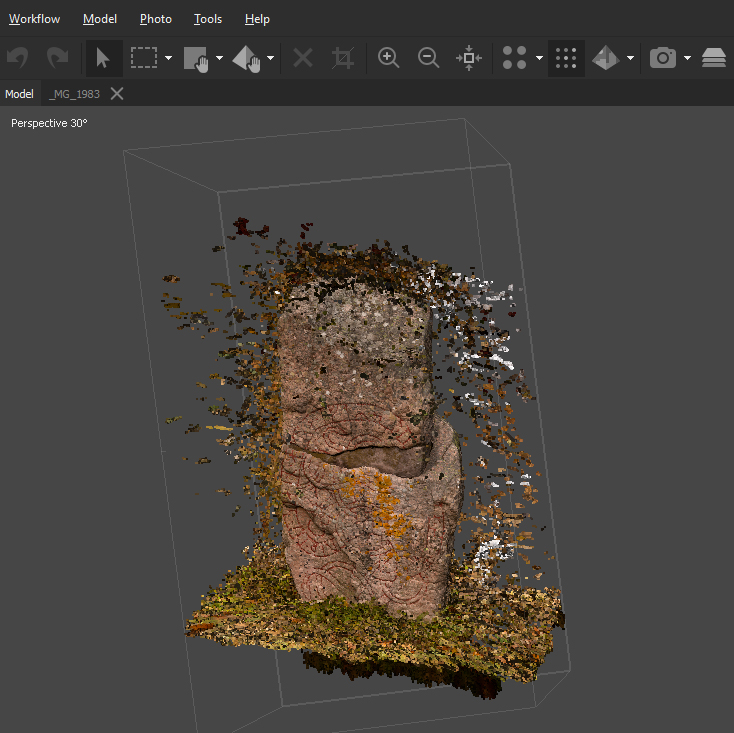
The easiest way to make a 3D model is to use the stages in the Workflow tab as shown in the video in step 1. As can be seen in the picture below a problem is that this might result in a lot of “debris” in the model. The picture shows the dense cloud.
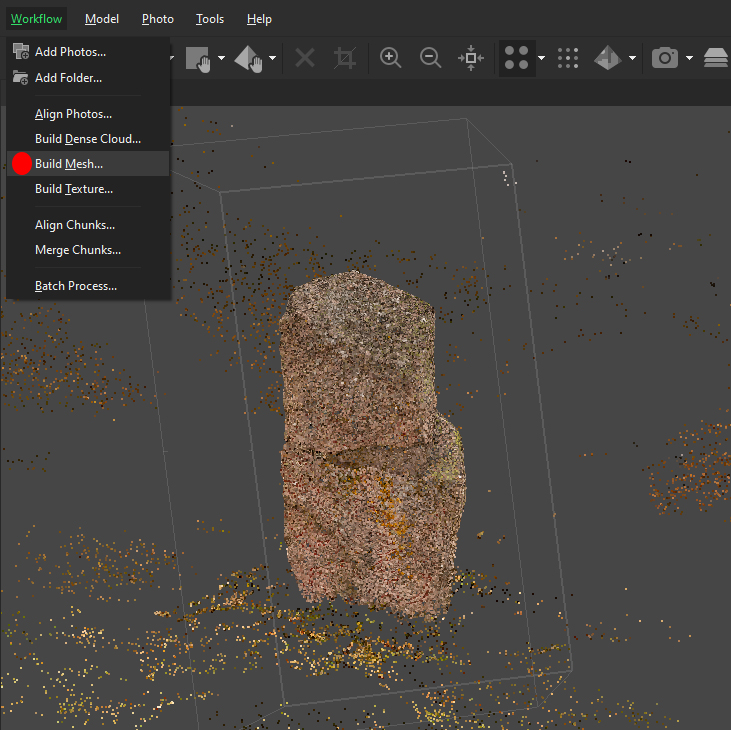
Instead of making a dense cloud there is a “new” function that uses depth maps. After aligning the photos click on Build Mesh
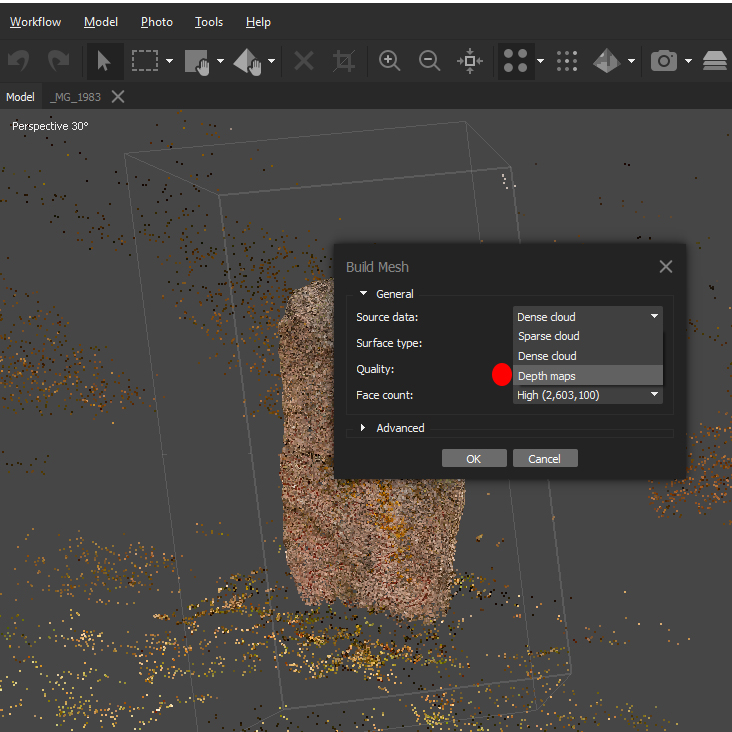
Chose Source data: Depth maps
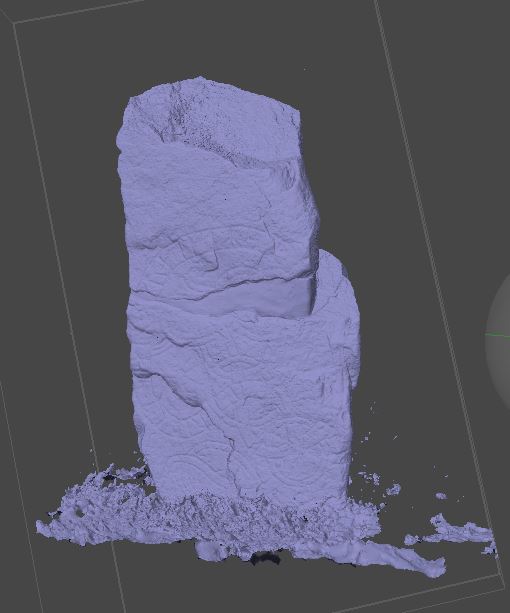
After a long time – might be hours of computing on an ordinary PC – the resulting mesh looks like this.
The final step in this tutorial is to use the Build texture function. After that the model looks like this.
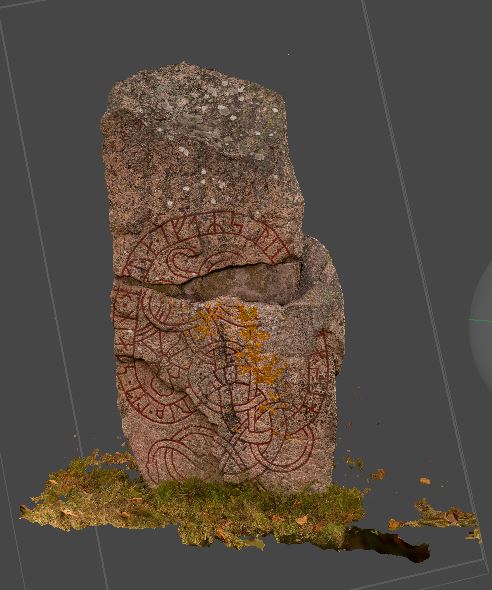
The video above shows the result of this tutorial. The next tutorial will be about masking. Finaly we will end up with a model like the one below.